Import files and assets
Learn to import files and assets into your project so you can use them in your scenes.
Formats supported and size limit
For optimal performance within the iR Engine, consider these guidelines when importing assets:
List of supported formats
Supported file formats include:
- 3D model formats:
.glband.gltf(with.binand.ktx2)- The Studio does not support
.fbx
- The Studio does not support
- Image formats:
.png,.tiff,.jpg,.gif.jpeg, and.ktx2 - Audio formats:
.mp3,.mpeg,.m4a,.wav - Video formats:
.mp4,.mkv,.avi
Recommended file size
For optimal performance, use files under 300 MB. Files over this size affect the performance of your experience both when building it in the Studio and when users access it on the web.
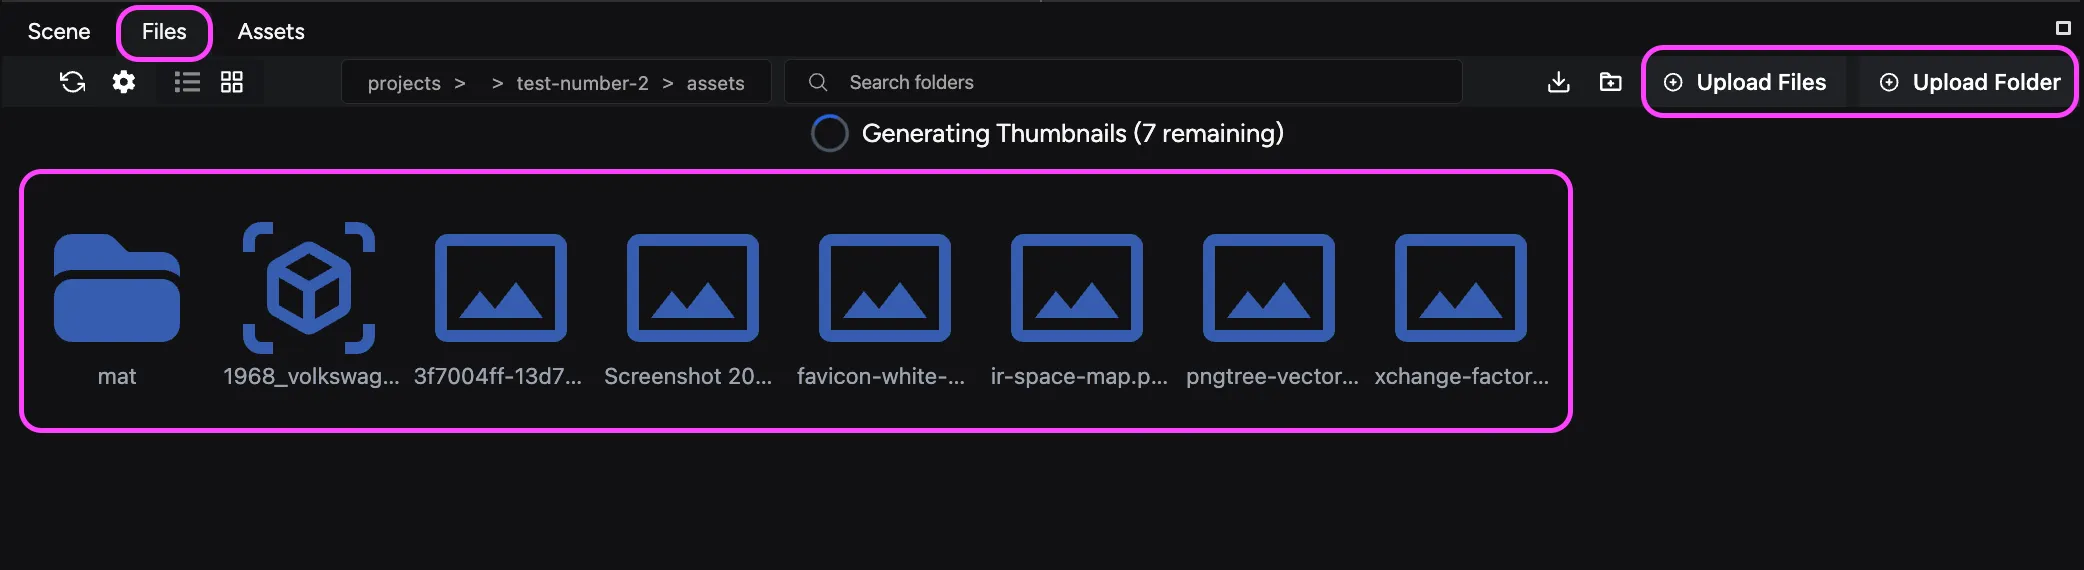
Import files into your project
Import assets into your scene via the Files tab. To do this, you can drag and drop or use the Upload Files and Upload Folder buttons.
These actions place the file into your folder within the Files tab and make it available in the Assets tab as well.
If you drag and drop your files, you can place them directly in the Files tab, the Viewport, or the Hierarchy. These options provide their own benefits; see the following sections to know more.
Importing files directly into the Viewport
To upload files directly into your scene, you can drag and drop them into a location in the Viewport. Doing this also loads them into your scene Hierarchy. You can view imported assets in the assets folder of the Files Tab.
Importing files directly into the Hierarchy
To upload files directly into your scene, you can drag and drop them into the Hierarchy. Doing this also loads them into the Viewport at (0,0,0). You can view imported assets in the assets folder of the Files Tab.
Specific format importing guides
While the iR Engine supports a variety of formats, here are some additional guidelines for specific types:
Importing glTF files
To import a complete glTF model that consists of multiple files, you must first combine all associated files (textures, materials, etc.) into a single folder on your device.
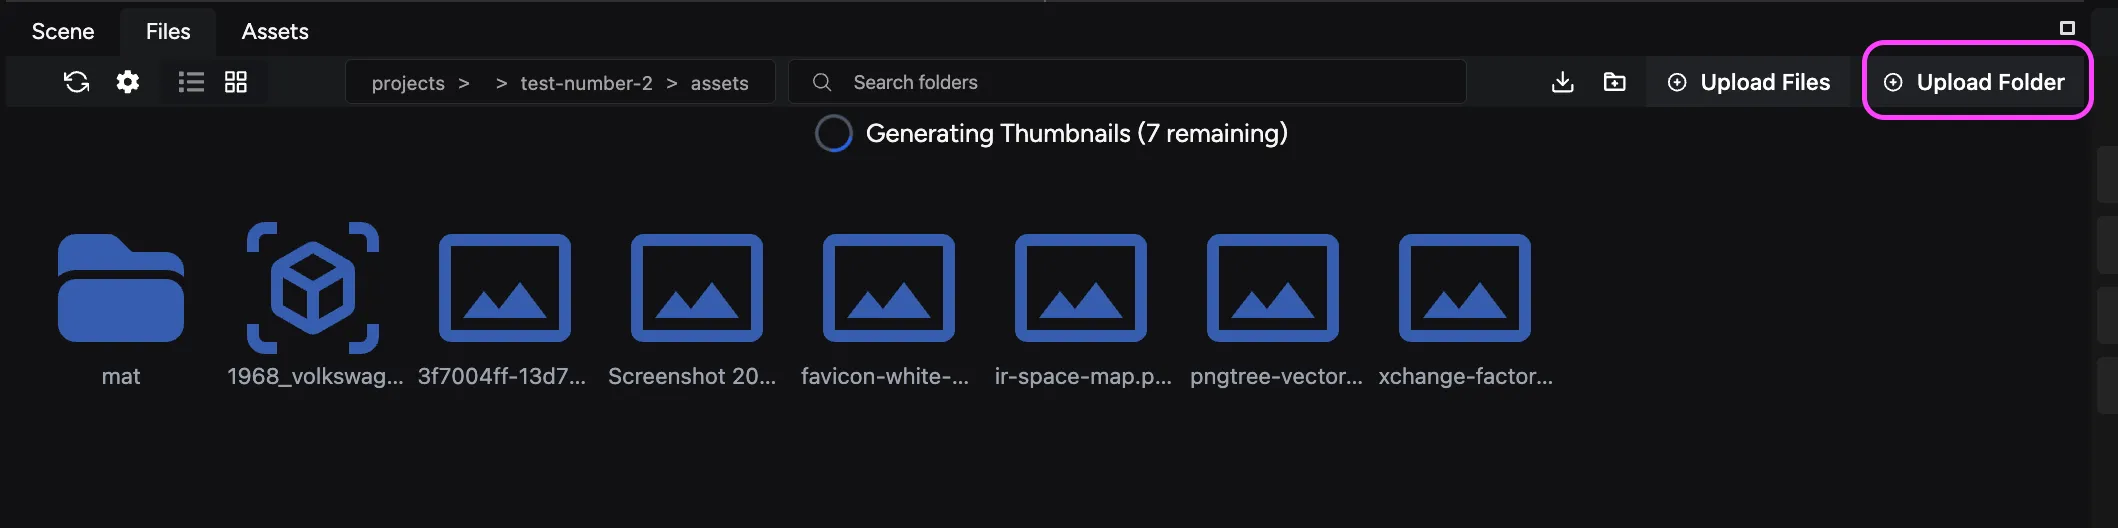
To upload your folder:
- Navigate to the Files tab in the Studio.
- Click the Upload Folder button.
- Select the folder containing all your glTF model files for upload.
Next steps
Now that your files are ready to use in your project, you can proceed to load assets into your scenes to begin building your experience.