Build your store and set up the ambiance
With your Shopify store integrated, it’s time to build the visual and interactive elements of your virtual store. This guide helps you use predefined templates to create a modern store layout and set the ambiance using a skybox. These steps enhance the user experience and bring your virtual shopping environment to life.
Step 1. Launch your project in the Studio
To start building your virtual store, first, you must launch your project in the Studio.
- Find your project: Locate your project on the My Projects page.
- Launch the Studio: Select or create a scene where you want to start building your store.
This action launches your project in the Studio, making your scene active and ready for building.
Step 2. Use a model template for your virtual store
The iR Engine provides preconfigured model templates to simplify the process of creating a virtual store. For this tutorial, use the Natural Modern template, which includes a fully built brick-and-mortar store with product displays and lighting.
To add your store model template:
-
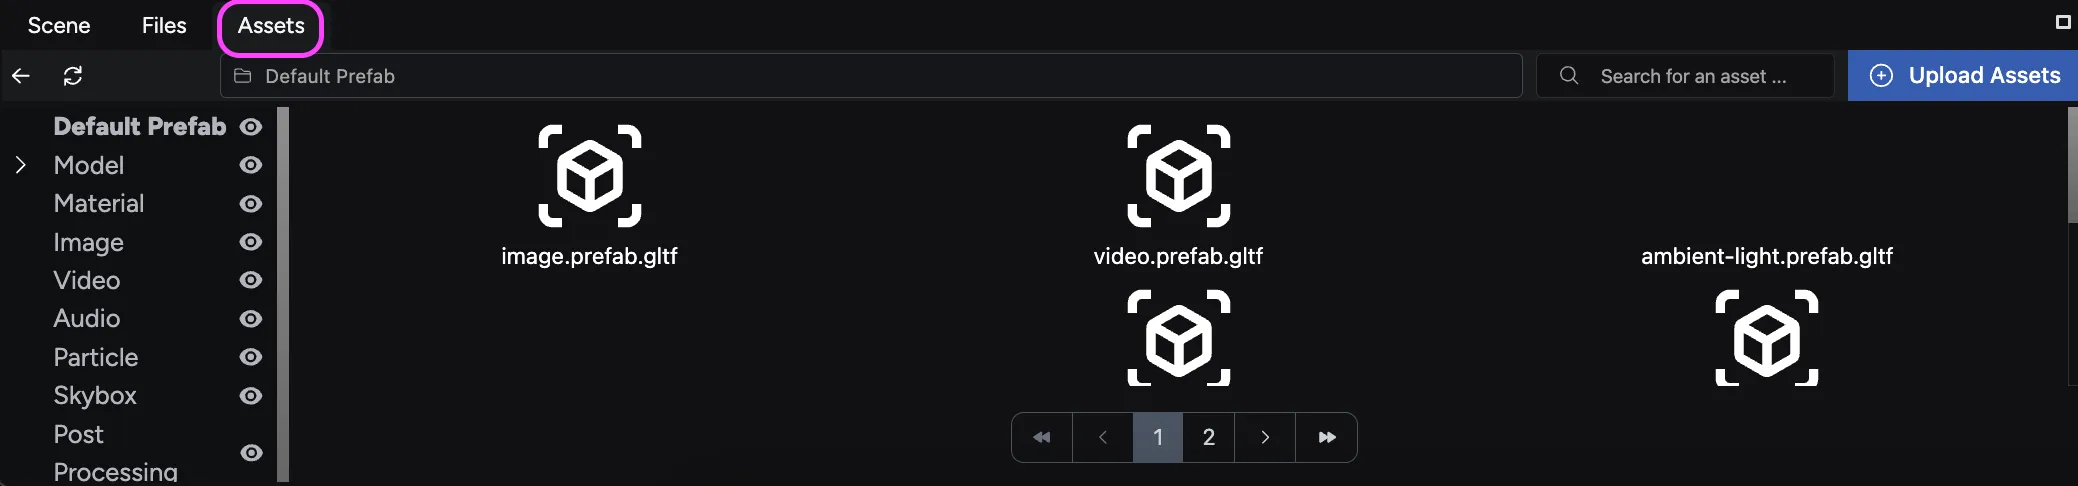
Open the assets library: Go to the Assets tab located at the bottom left of the Studio interface.
-
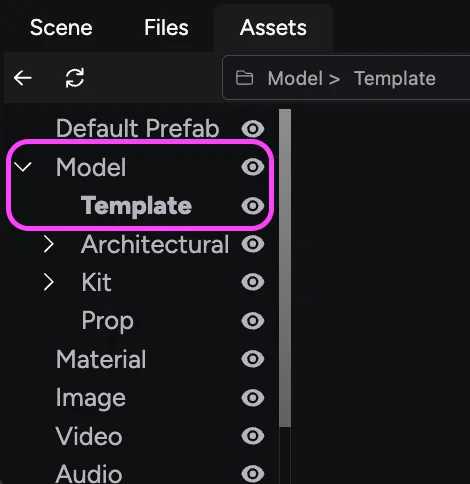
Find the model category: In the list of assets on the left, locate and expand the Model category.
-
Select the templates category: Click Templates to view the available model templates.
-
Choose the appropriate template: For this tutorial, use the
NMS_HubsLM_Template_large.glbmodel or any other that resembles a modern retail store. These type of files include models for your shopping experience with fully set light maps.
-
Add the template to your scene: Drag and drop your store file from the Assets tab into the bottom of the Hierarchy panel located at the top right of the Studio interface.
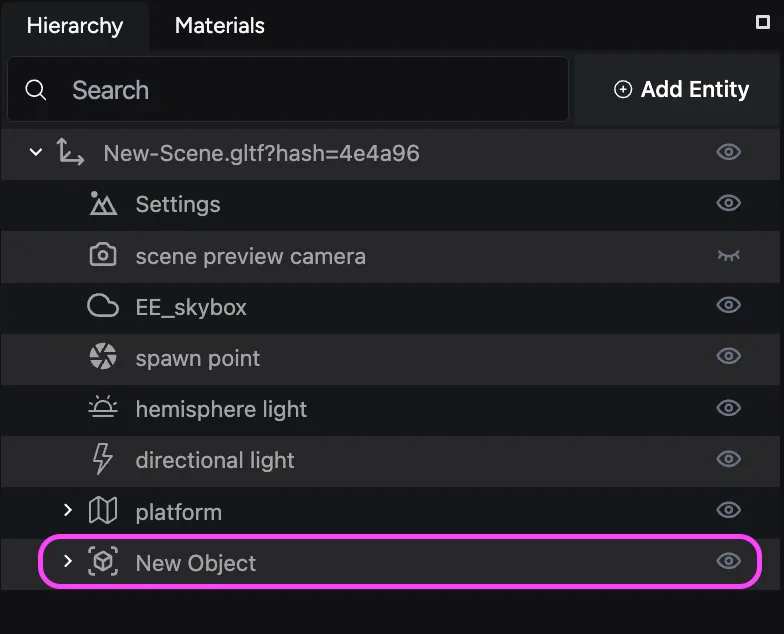
This action creates a New Object with all your model’s elements. You can expand the model to see its objects, including walls, flooring, box colliders, windows, display cases, ceiling, and also the lighting settings of your store.
-
Preview your scene:
- After adding the template, the model appears in the center of your project in the Viewport.
- Test the scene by clicking the preview button and using the WASD keys to navigate.
Step 3. Set the ambiance of your store by adding a skybox
A skybox is a spherical environment that surrounds your scene, providing lighting and ambiance. For this tutorial, add a desert-themed skybox to create a bright and warm atmosphere. To add a skybox:
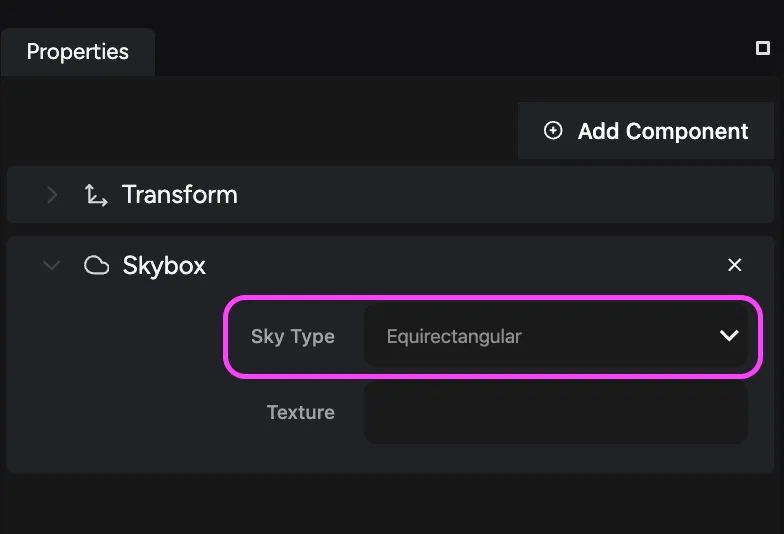
1. Enable skybox settings
-
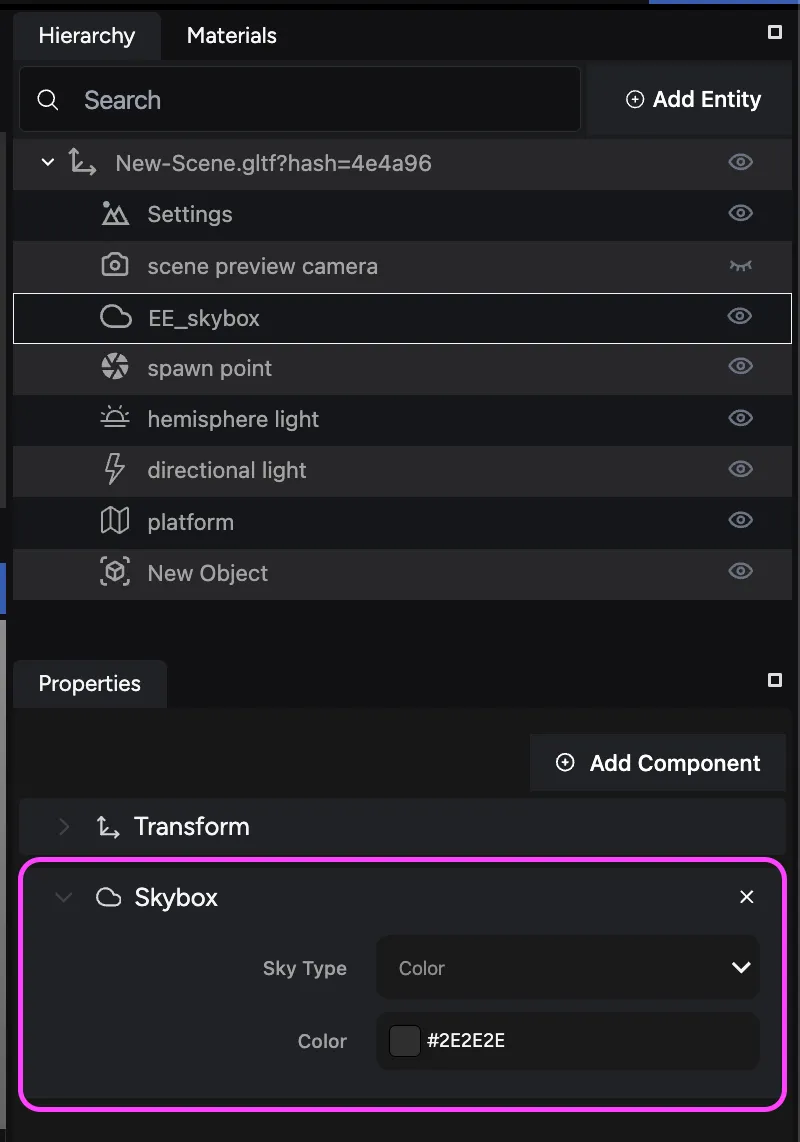
Locate the EE_skybox entity in the Hierarchy panel.
-
Select the entity to open its components in the Properties panel.
-
Expand the Skybox component and set the Sky Type to Equirectangular from the dropdown menu.
2. Assign a skybox image
-
In the Assets tab, find and expand the Skybox category to view available skybox images.
-
Locate the
desert_daytime_04.pngfile.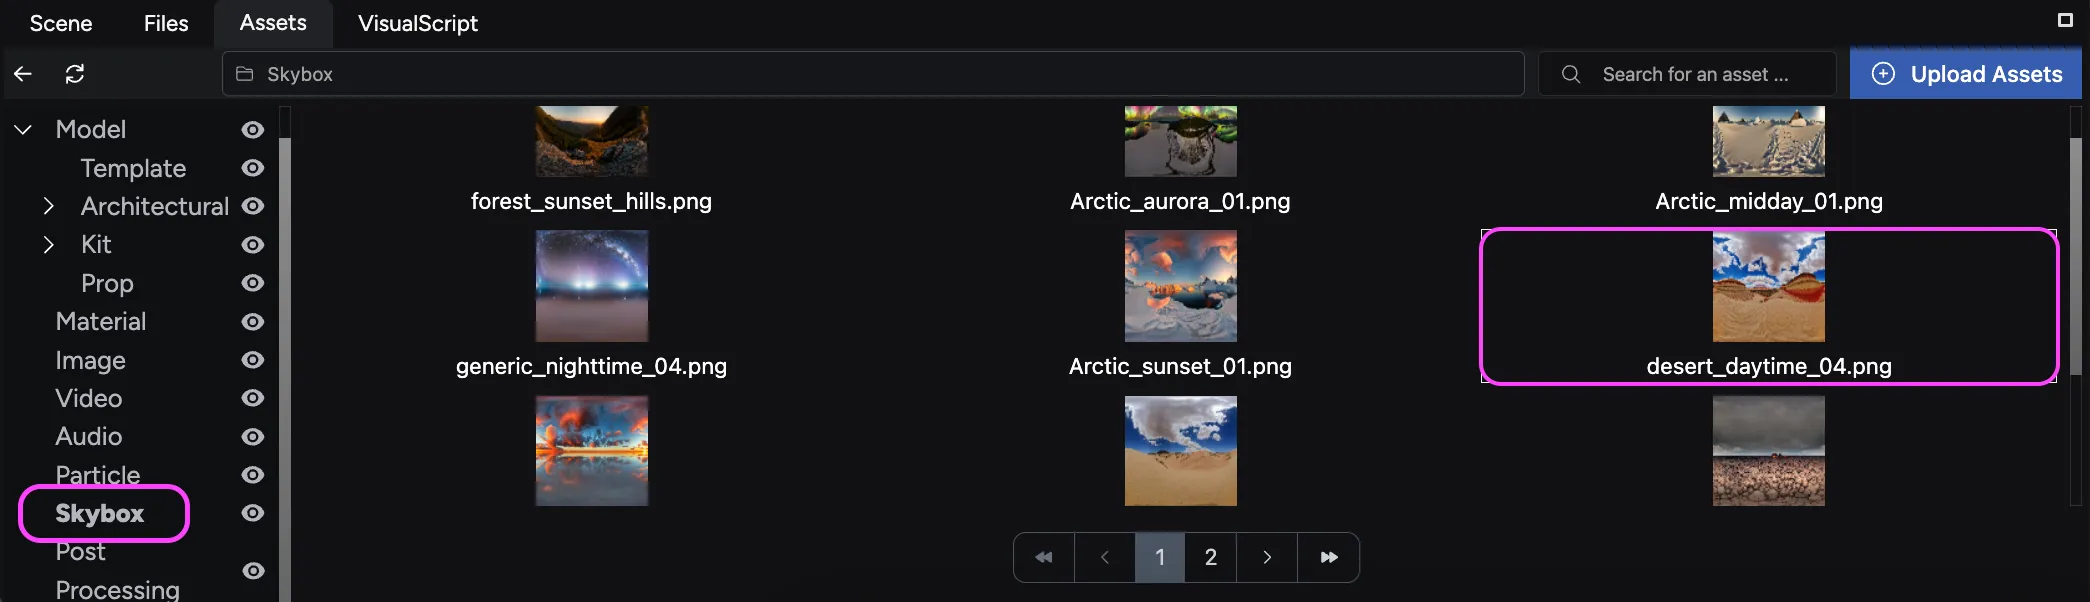
-
Drag and drop the
desert_daytime_04.pngfile into the Texture field in the Properties panel, ensuring the EE_skybox entity is selected.
Once you add the skybox, it immediately illuminates your scene. You can further configure the skybox settings in the Hierarchy panel.
Next steps: Loading and placing Shopify products
With your store layout and ambiance set, the next guide focuses on loading and placing your Shopify products within the scene. This includes creating entities, attaching ecommerce components, and positioning your products for display.