Set up spatial audio
This guide walks you through loading an audio file, attaching it to an entity, and configuring the spatial audio settings.
About spatial audio
Adding spatial audio to your virtual store enhances the immersive experience by creating a realistic sound environment. Spatial audio allows you to configure audio settings based on object positioning and proximity to the user’s avatar.
Step 1. Load your audio file and attach it to your entity
First, load an audio file and attach it to an entity in your scene.
To load an audio file:
-
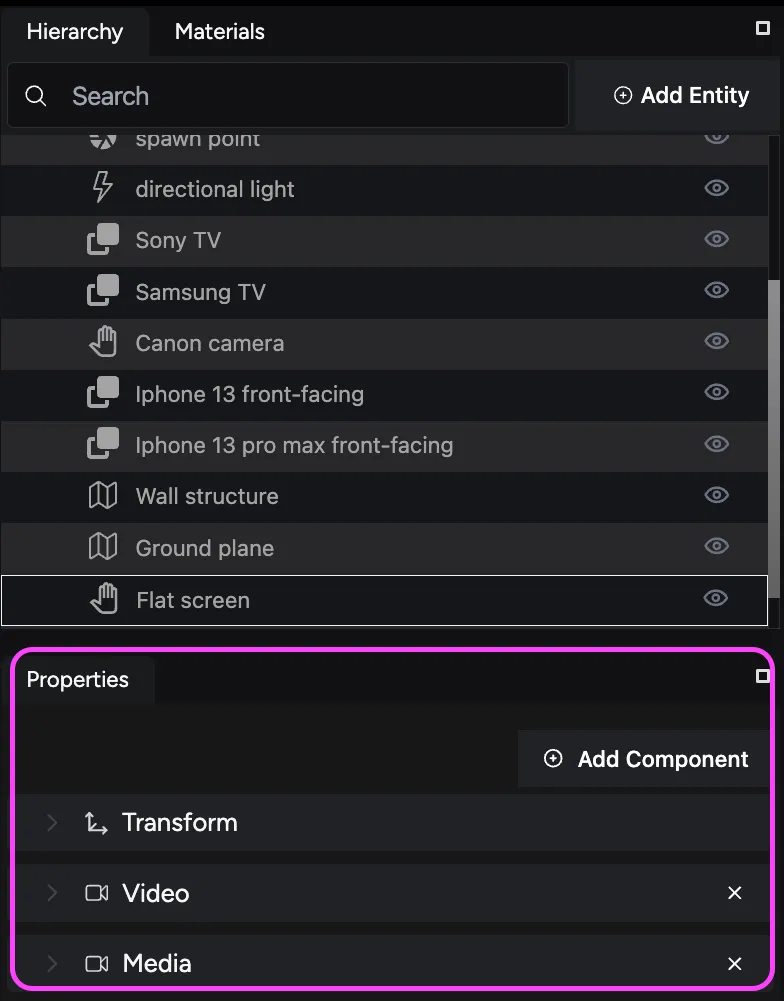
Select your entity: Choose the entity to which you want to attach the audio file in the Hierarchy panel to display its properties.
-
Expand the Media component: In the Properties panel, expand the Media component to view its options.
-
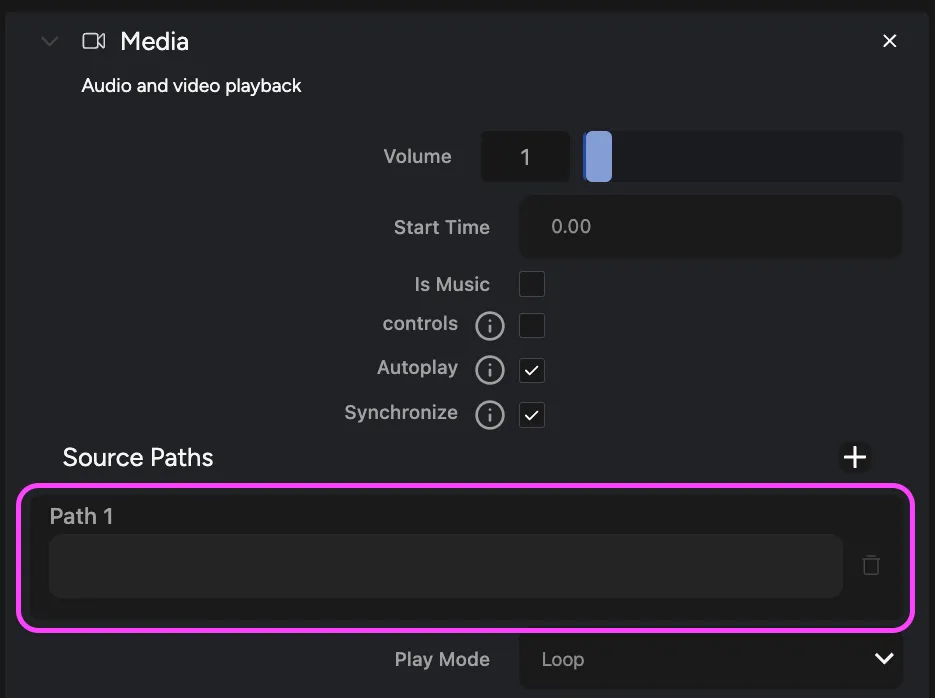
Add a source path: Click the + (plus) sign in the Source Paths section to create a new field named Path 1.
-
Locate your audio file: Open the Files tab to find the audio source you want to use.
-
Attach the audio file: Drag and drop your audio file from the Files tab into the source path text field. This action links the audio file to the entity.
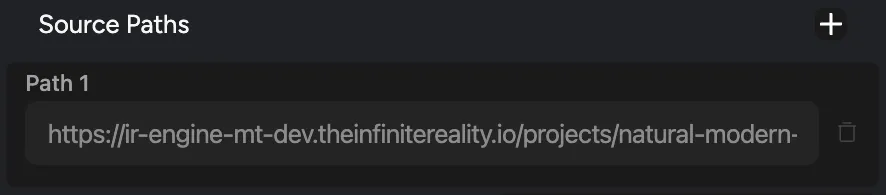
Alternatively, right-click the file in the Files tab, copy its URL, and paste it into the source path field.
Step 2. Set up a positional audio component in your entity
Once the audio file is attached, add a positional audio component to your entity to enable spatial audio settings.
To add a positional audio component:
-
Activate your entity: Ensure your entity is selected and active in the Hierarchy panel.
-
Add a new component: Click the Add Component button in the Properties panel to display the list of available components.
-
Find the audio component: Enter Audio in the search bar to locate the audio components.

Alternatively, find it inside the Files component category.
-
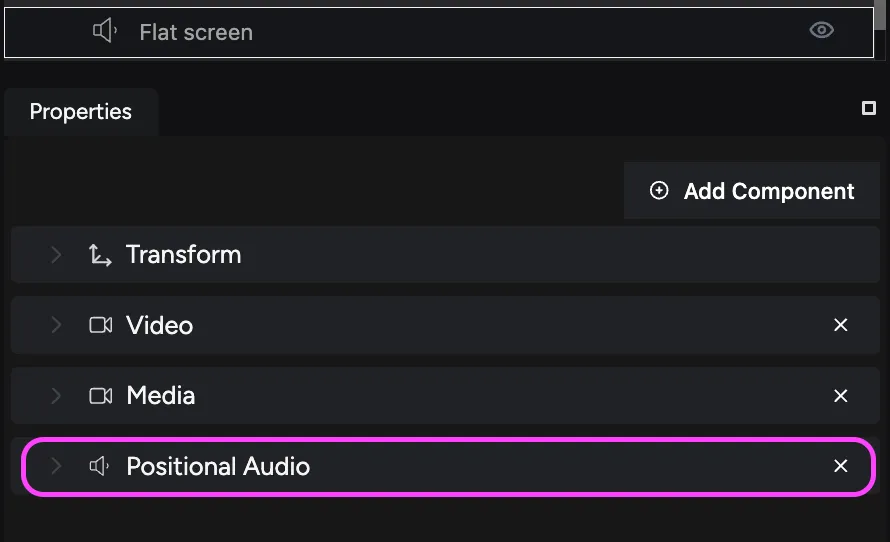
Add the Audio component: Select Audio from the options. This action adds the Positional Audio component to the Properties panel.
Step 3. Configure the positional audio settings
After adding the positional audio component, configure its settings to define how the audio behaves in the scene.
To configure positional audio:
-
Expand the Positional Audio component: In the Properties panel, expand the Positional Audio component to view its settings.

-
Adjust audio settings: Configure settings such as the distance model, rolloff factor, reference distance, audio cone angles, and max distance.
These settings determine how the audio is perceived based on the listener’s position relative to the audio source.
-
Test the spatial audio: Save your scene and use the preview function to test the spatial audio settings. Move around the scene to ensure the audio behaves as expected, creating a realistic and immersive environment.
Next steps: Publishing your store
With spatial audio set up, your virtual store is nearly complete. The final guide focuses on publishing your store, making it accessible to users via a web link.